
Preparing Your Air Conditioner for Summer
As the weather begins to warm up, it’s time to start thinking about preparing your air conditioner for summer. You wouldn’t want to find your AC unit malfunctioning on the hottest day of the year!
After being idle for several months, it’s a good idea to do some regular maintenance on your unit. If you don’t do so, you may find your home without cooling and your Robert B Payne HVAC technician too busy to come out right away.
Though it may seem like a daunting task, there are a few simple things you can do to help ensure that your AC is ready to go when the temperatures really start to heat up.
Central Air Conditioning Basics
A central air conditioning system is a complex system, comprising many different parts. At its most basic level, it includes an outdoor unit that houses the compressor and condenser coil. The evaporator unit is housed in the indoor portion of your HVAC system, commonly referred to as a furnace or air handler. These two parts are connected by a series of metal pipes, with refrigerant flowing through them to carry heat from the indoor unit out to the outdoors.
Several other components help your air conditioner work properly and efficiently. An AC’s filter needs to be replaced regularly throughout the summer (at least every one or two months) to keep the system clean and running smoothly. The thermostat is another important part, as it helps to regulate the temperature in your home and tell the AC when to turn on and off.
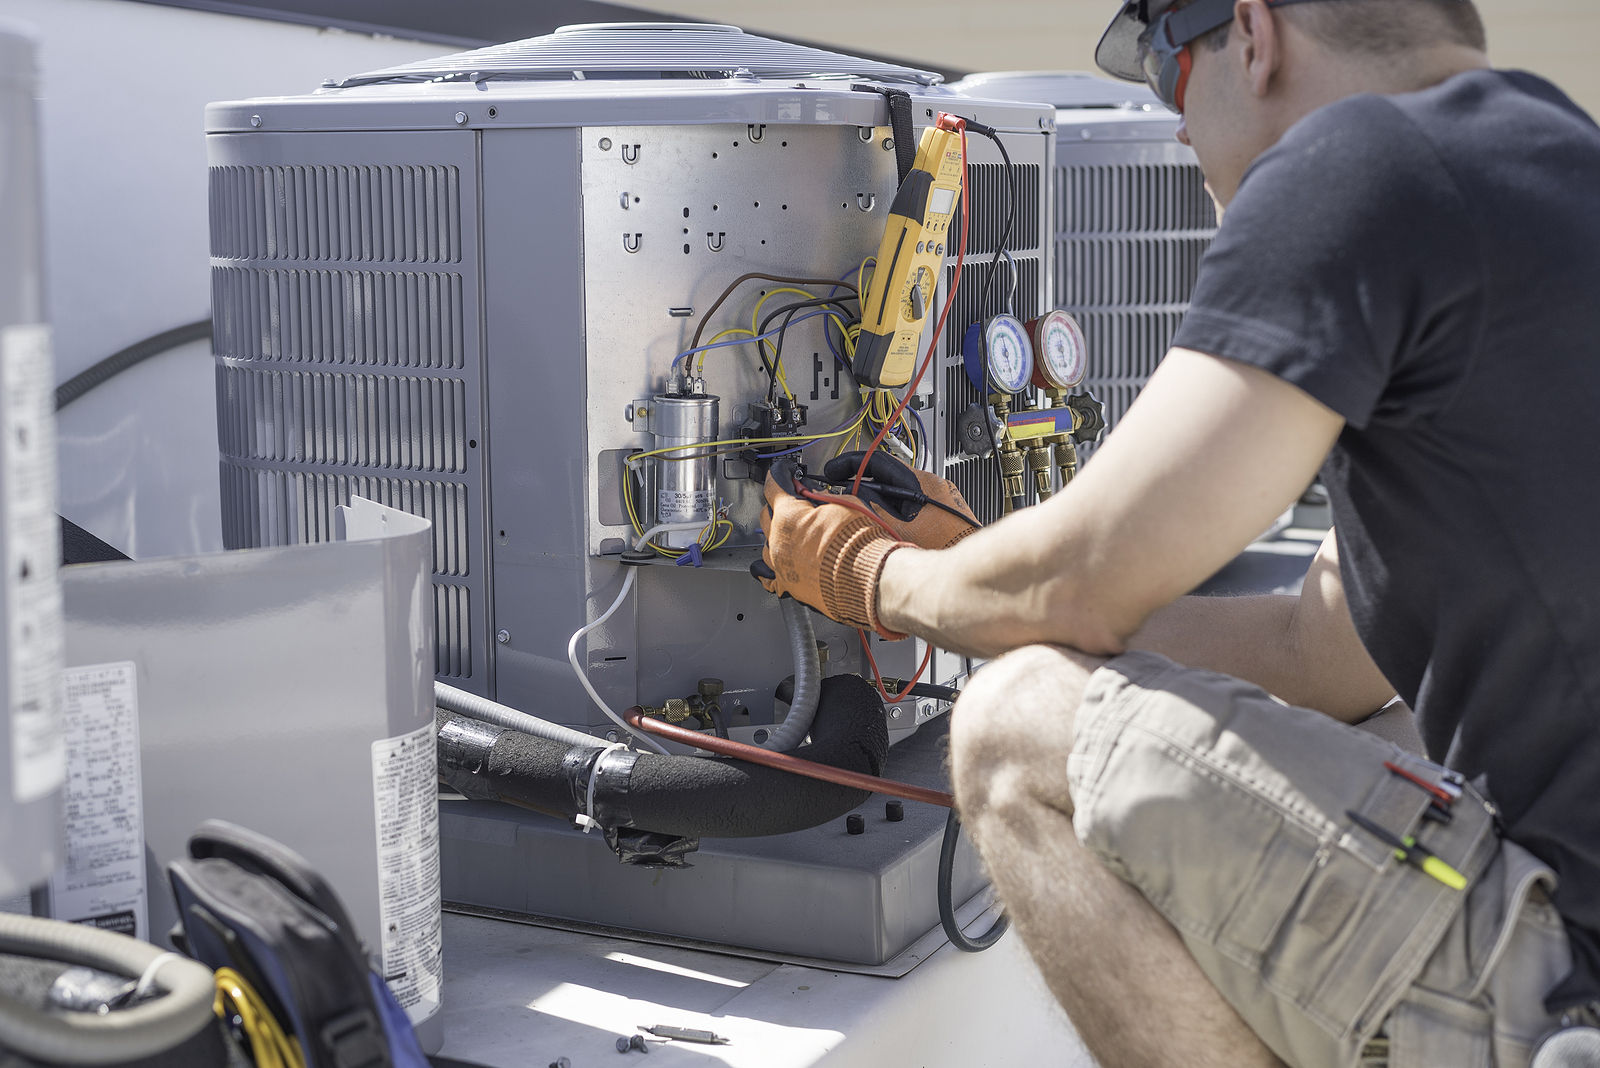
Maintain Safety by Shutting Off Power to The Unit
Before you begin any maintenance steps be sure to shut off power to the unit. If you have central AC, this means turning off the breaker for your furnace and air conditioner. For a window unit, make sure that it’s unplugged from its power source.
To avoid any issues with your air conditioner this summer, it’s important to do some basic maintenance tasks on a regular basis. Here are some maintenance steps you can perform on your own.
1. Clean or replace the AC filters
One of the most important things you can do to maintain your air conditioner is to clean or replace the filters regularly. While most systems have reusable or replaceable air filters in the air handler cabinet, some systems also have a standard disposable filter at the register.
To clean a reusable filter, simply remove it from the unit and wash it with soap and water. Allow it to dry completely before putting it back in place. To replace a disposable filter, remove the old one and insert a new one in its place.
Depending on the type of filter you have, you may need to do this every month or two. Clogged filters can restrict airflow and cause your AC unit to work harder, which can lead to increased energy bills and potential repair issues. Dirty filters can also cause dust and dirt to spread throughout your home.
2. Check and clean the condenser coils
Another important maintenance task is to check and clean the evaporator and condenser coils. These coils are responsible for transferring heat, so it’s important to keep them clean in order to maintain efficiency. They can become dirty over time, which can affect your AC unit’s ability to function properly. You’ll need to clean the coils regularly to prevent this from happening.
The condenser unit of a central AC is located outside, usually in a shady spot away from direct sunlight. It is a metal box with grille-like sides. Behind the grilles are fan blades. If you have a window AC, the coils will be located on the rear of the unit. You can clean these coils with a brush and household cleaner or by using a shop vacuum to remove dirt, leaves and other debris.
The fan blades move air across the condenser coils. Clogged coils reduce airflow and condenser efficiency. Always turn off power to the system before you open the condenser.
Before you can clean the coils, remove the protective grilles using a screwdriver. To clean the coils, you’ll need to remove any debris that has built upon them. You can do this by using a refrigerator coil brush or a soft brush on a vacuum. Use a hose to get difficult dirt off. Once the coils are clean, you’ll need to rinse them with water and allow them to dry completely.
3. Clear dirt and debris from the condenser
While you’re cleaning the evaporator coils, take some time to clean off dirt and debris that may have gathered near your condenser. Be sure to remove any leaves or other objects in this area as they can cause problems with proper airflow.
Depending on where your outdoor unit is located, there may be a lot of dirt and debris in this area. Regularly cleaning this area can help prevent debris from getting into the unit and blocking airflow.
Clear the drain if it has one. Then clean the fan blades with a rag and vacuum. Next, add a few drops of lightweight oil to the fan motor’s oil ports if it has any. After that, check and tighten the mounting bolts. Lastly, mop water from inside the unit and reassemble.
4. Check the coolant lines
The coolant lines are basically tubes or pipes that connect to the evaporator coils inside your home and the condenser coils outside. If there is any damage to these tubes or they become clogged, it can prevent the system from working properly.
These pipes are covered with insulation to keep the coolant from leaking out. However, over time this insulation can become damaged or deteriorate, which can cause problems. If you notice any damage to insulation, replace them to prevent energy loss. You can do this by placing foam insulation sleeves or wrap with foam insulation tape.
If your air conditioner uses a coolant to run, it’s important to check the lines on a regular basis. If they become clogged or leak at any point, this can cause problems with performance and energy efficiency.
5. Test the air conditioning unit
Once you’ve completed all the necessary maintenance tasks, it’s time to test your air conditioning unit to make sure it’s working properly. The best way to do this is to allow the unit to dry completely and then turn on the AC in these steps;
- Turn off your home thermostat
- Turn on the power at the disconnect box
- Turn on the power at the main panel
- Set the thermostat to cool
Now let your AC run for a few hours. This will give you an opportunity to check the temperature of the air coming out of the vents and see how well it’s cooling your home.
If the temperature is low and there are no other problems, you can be confident that your AC unit is working well. If not, you may need to call in a professional for repairs.
When you shut your AC unit down for fall and winter, cover it with a plastic tarp. This will reduce the depth of maintenance you’ll need to carry out next year.
Get In Touch With Our Team
Dealing with an air conditioning unit can seem like a daunting task, but by following these simple maintenance steps you’ll be sure to keep it running smoothly all summer long. If, however, you are unable to complete these tasks yourself, feel free to contact the team at Robert B Payne at 540-373-5876 for assistance. We’ll be happy to help you keep your unit in top condition all season long.